Workflow Service
Introduction
Workflow Service is used to schedule, orchestrate and monitor the execution of a sequence of tasks in the TCUP platform.
Purpose of the Document
This document describes how to work with workflow service. After going through this document, the users will able to create and execute workflows.
Reference Document
Please refer to the following documents to get more details on workflow service
To understand the basic concepts of Workflow Service please refer to the Concept guide.
For API details please refer to the API guide.
Workflow Service Using Portal
The following scenario describes the steps to create a workflow from the portal.
Consider the scenario below:
Two tasks are created and deployed in project P5 (WFUIGUIDE) with the task IDs T26 (T1) and T27 (T2). T27 has a file dependency on T26 (name of file is out.out). ( Please refer to the Task Service user’s guide for creating the tasks.)
Now we need to create a workflow for these tasks so that once the task T26 is complete, the task T27 will run.

Following are the steps to create the workflow:
To navigate to the workflow service portal, after signing into TCUP click on the link
Serviceson the left hand side of the menu and then click onWorkflow.
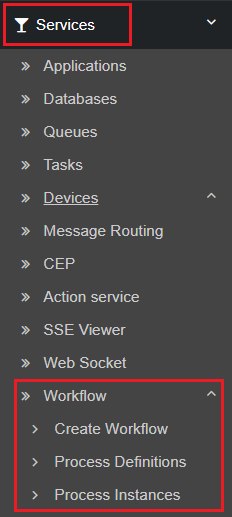
The workflow process designer can be opened by clicking on the
Create Workflowtab under workflow.
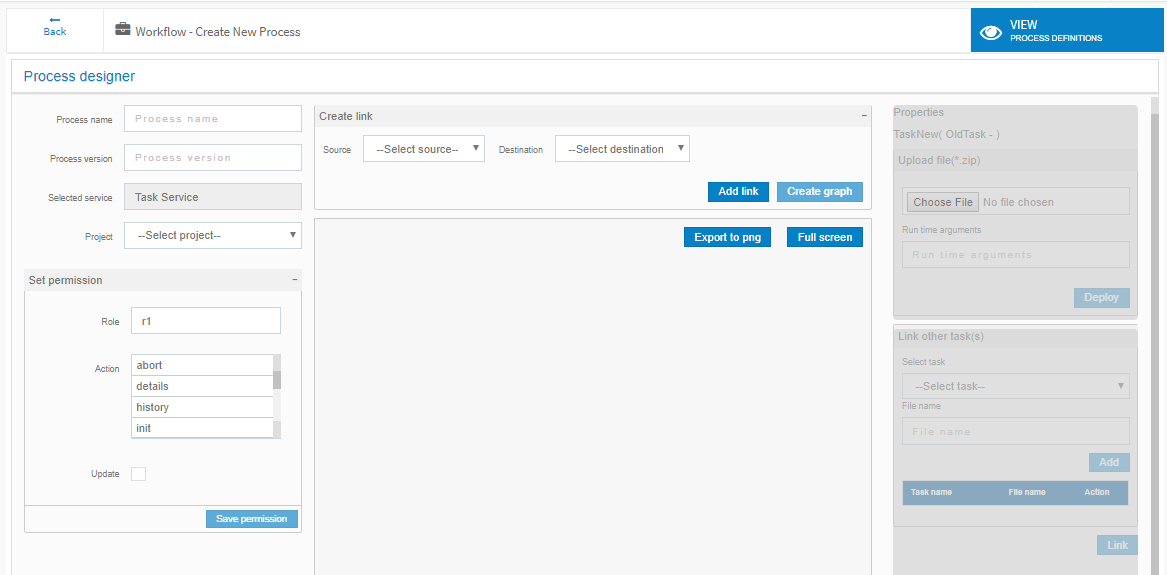
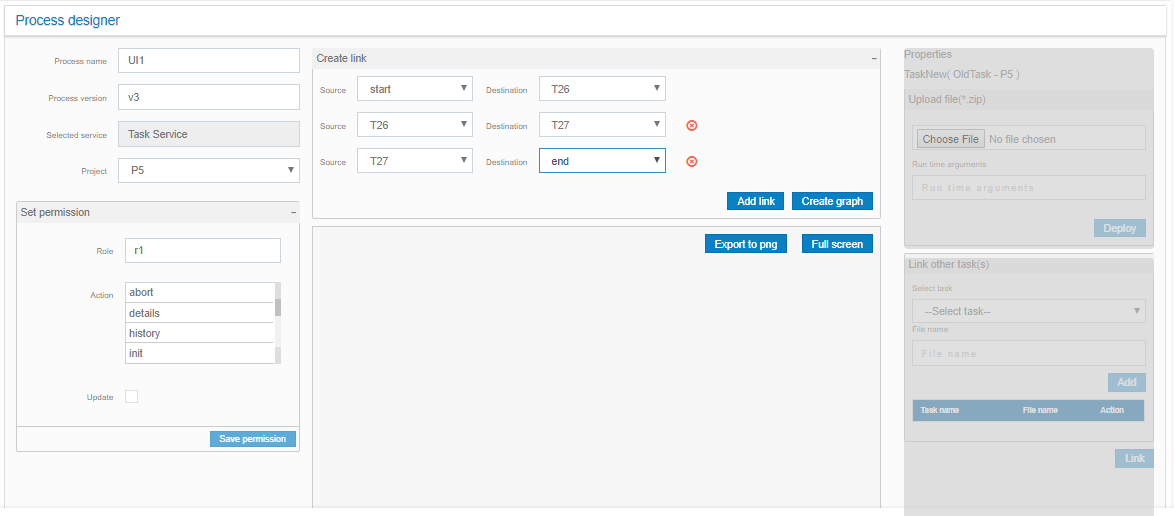
The project is selected as P5, the process name is entered as UI1, process version as v3. Source and destination pairs (start, T26), (T26, T27), (T27, end) are added by clicking on the
Add linkbutton thrice consecutively.
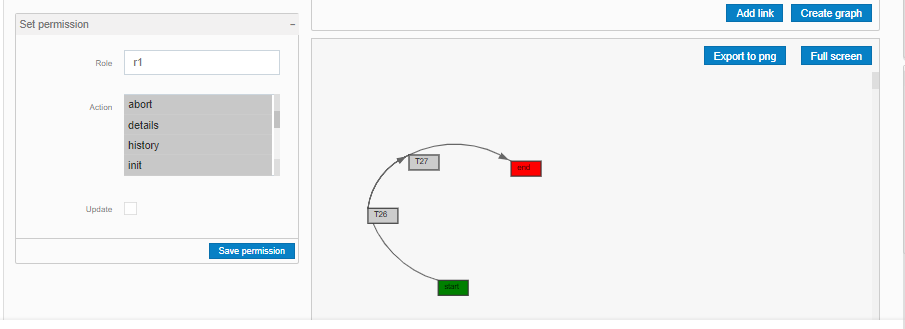
Then
Create graphbutton can be clicked to see the graph.Next
Savebutton is clicked, on clicking theSavebutton, the message, “Process definition created successfully” appears at the top.Now the permissions have to be given by selecting all the required permissions and clicking on the “Save permission” button. A message appears at the top “Permission given successfully”
Upon navigating through the “Process Definitions” link from the left pane, a list of process definitions can be seen including the newly created (UI1, v3) process.
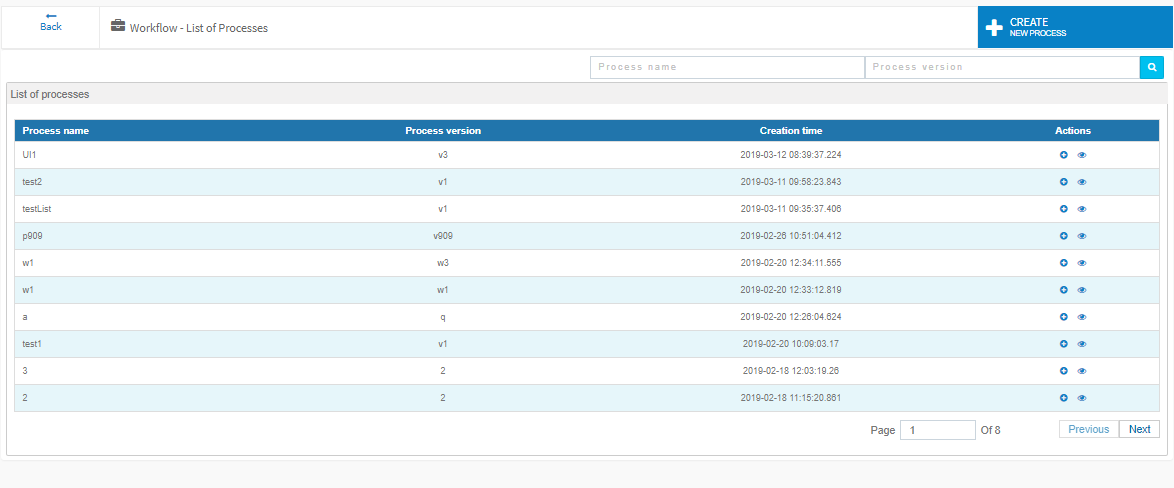
By specifying the process name as UI1 and version v3 at the search boxes on the top, the process definition is obtained as shown in the screen below.

Hovering on the “+” symbol (“Create PID for this process”), the below screen is displayed.
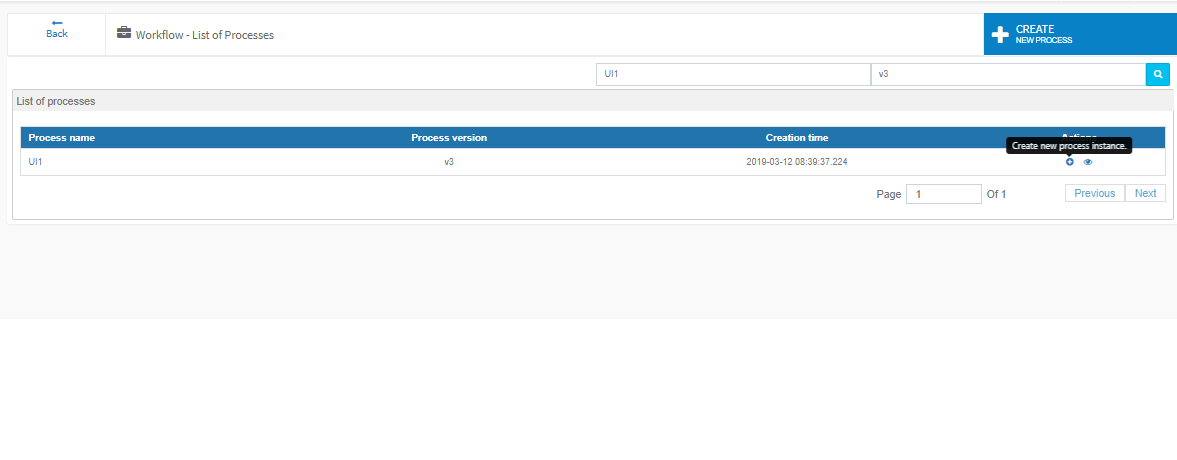
Clicking on the “+” symbol, the below message is displayed on the same screen.

After noting the PID, the users have to go to the process instances link on the left navigation pane. The generated PID reflects at the top of the listing of process instances and has the status as MAPPED.
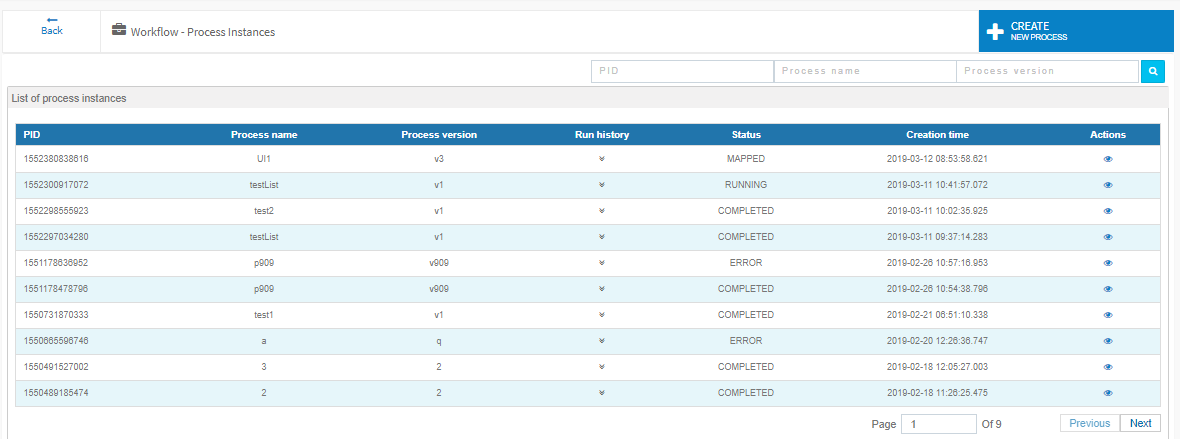
Users can also search for the PID through the search options at the top

Hovering on the view icon at the right, the message “View this instance in design page” is displayed.
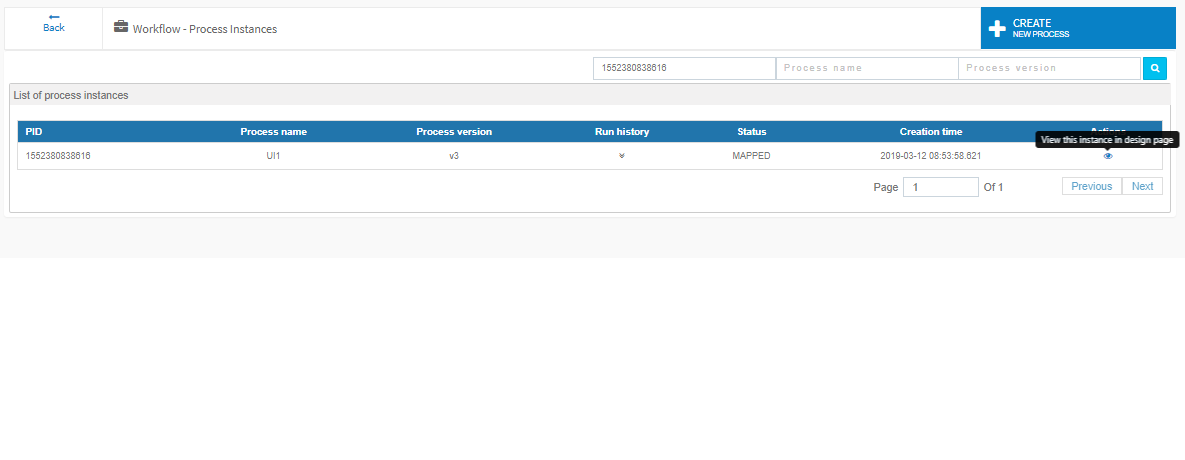
On clicking view icon process designer page is opened from where the process instance can be run.
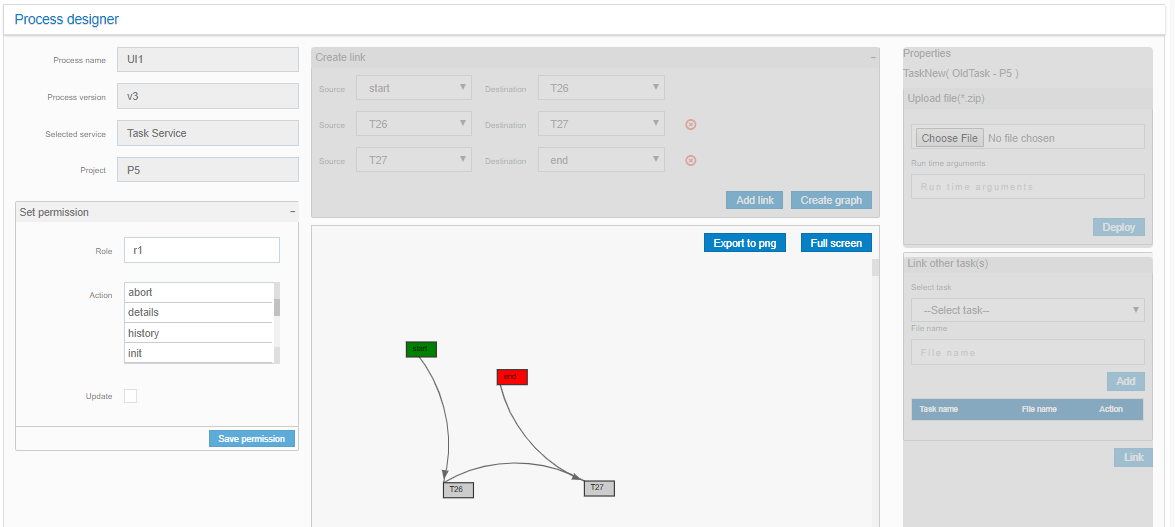
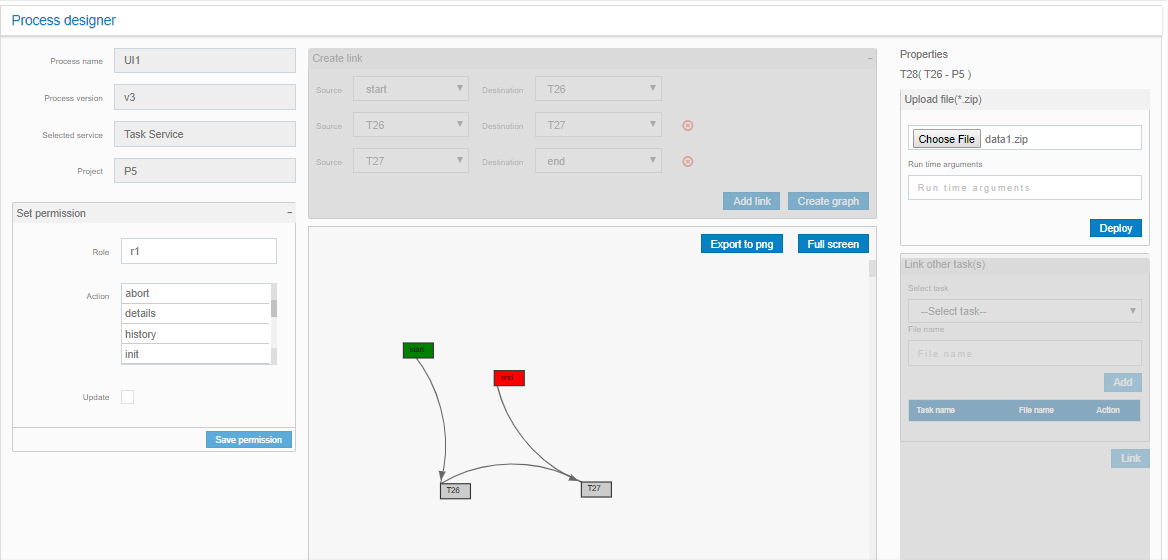
Double clicking on the T26 task, the copied Task (T28) can be deployed. The new file data1.zip is uploaded. Clicking on the deploy button, the message is shown “Task deployed successfully”
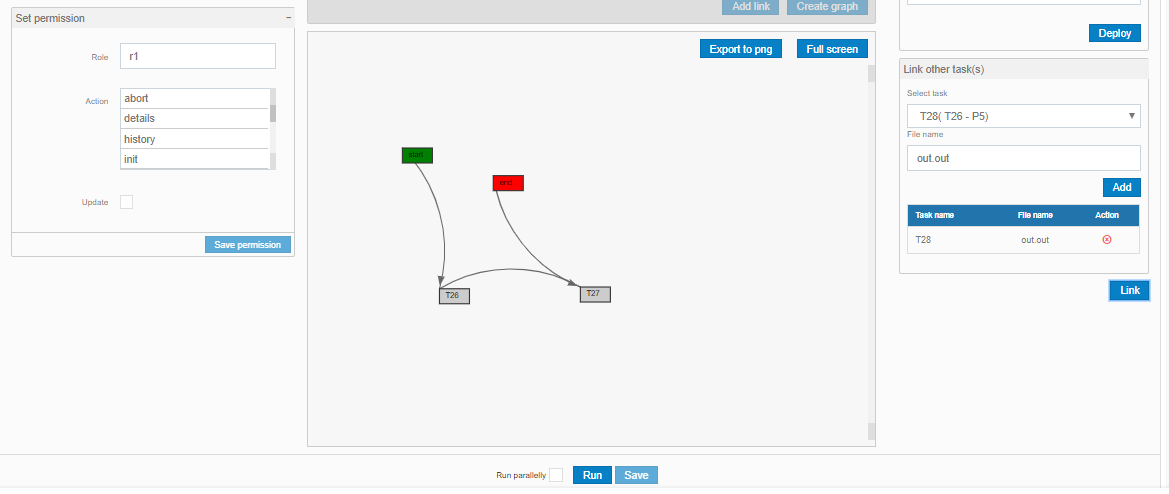
By double clicking on the T27 task, the copied task (T29) can also be deployed. The dependent task T29 can be linked by specifying the file name
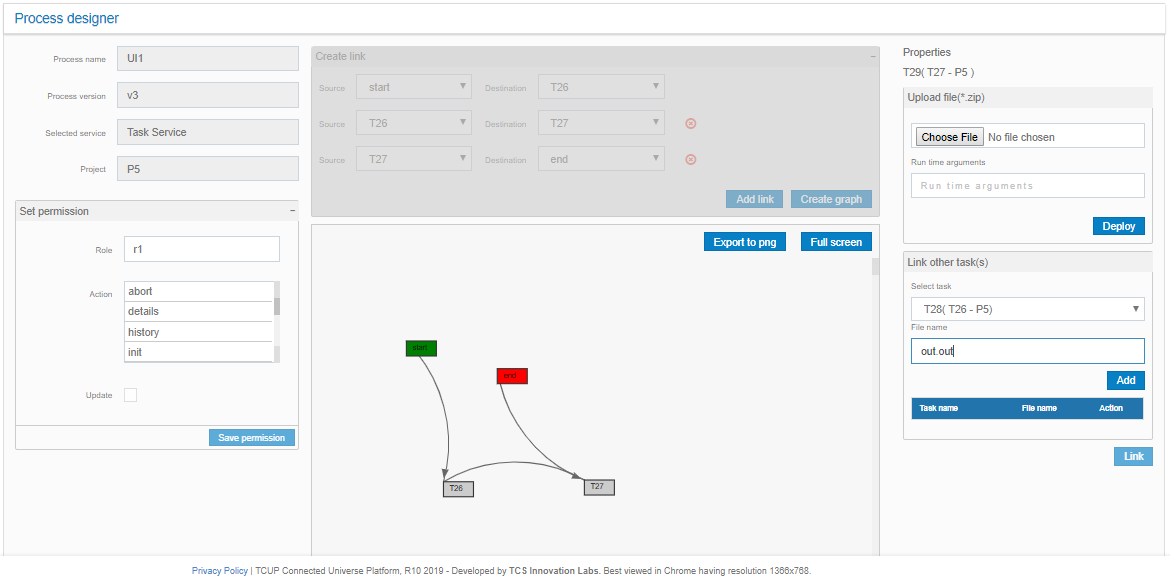
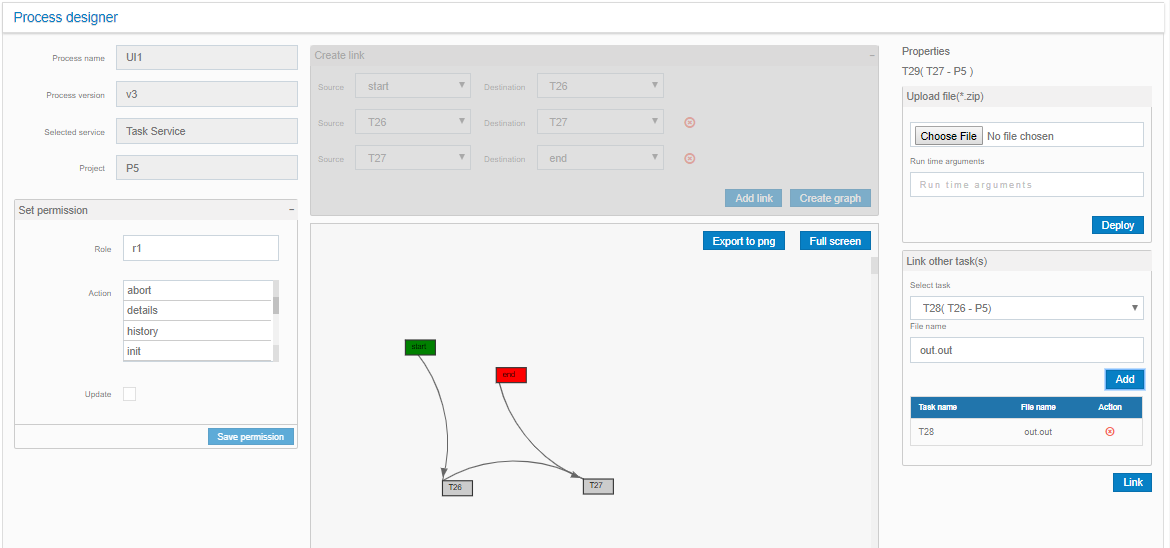
By clicking the “Add” button, the link can be added, clicking the “Link” button would link the tasks
The “Run” button has to be clicked to run the process instance
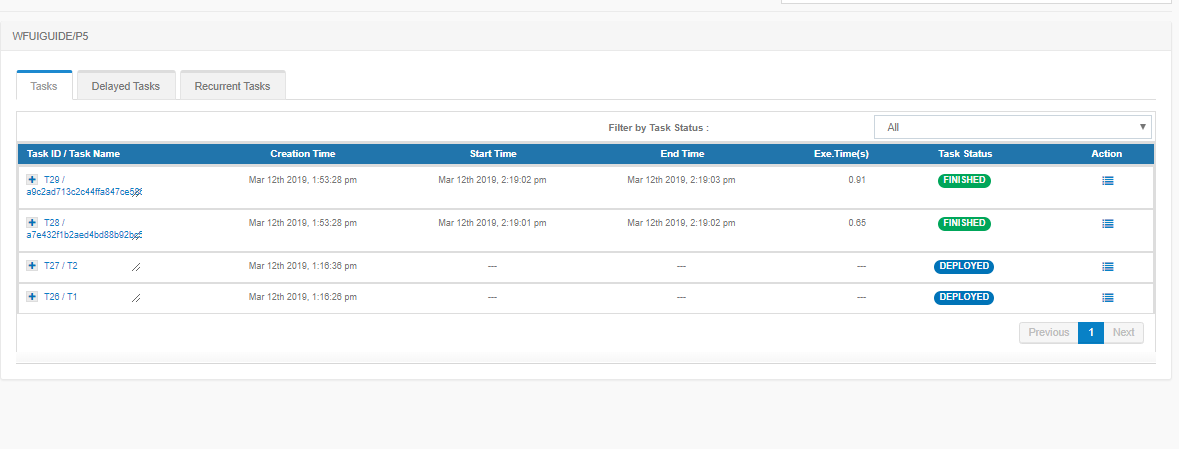
In the Task Service page, the tasks are shown as completed successfully
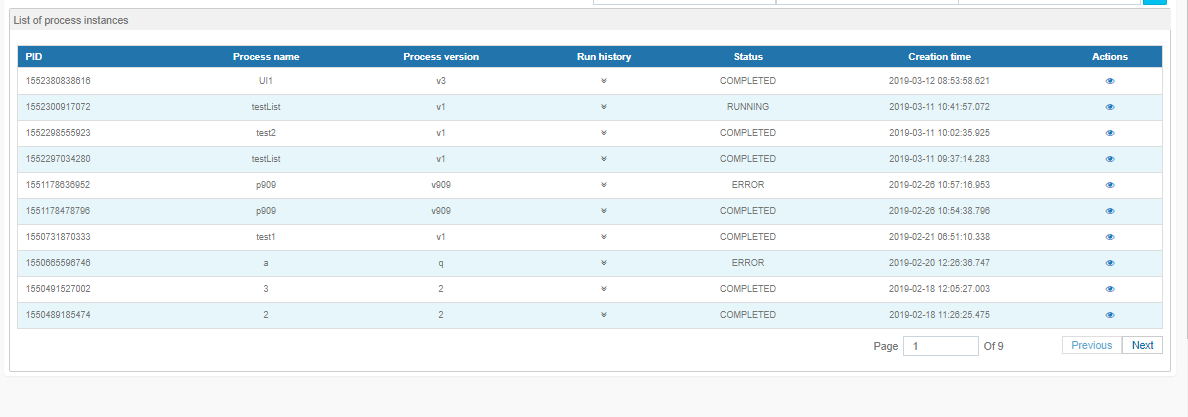
Navigating to the process instance screen, the state of specific PID is shown as COMPLETED.
On hovering on the “Run History” symbol for that process instance (“Click to view history details.”), the below screen is displayed
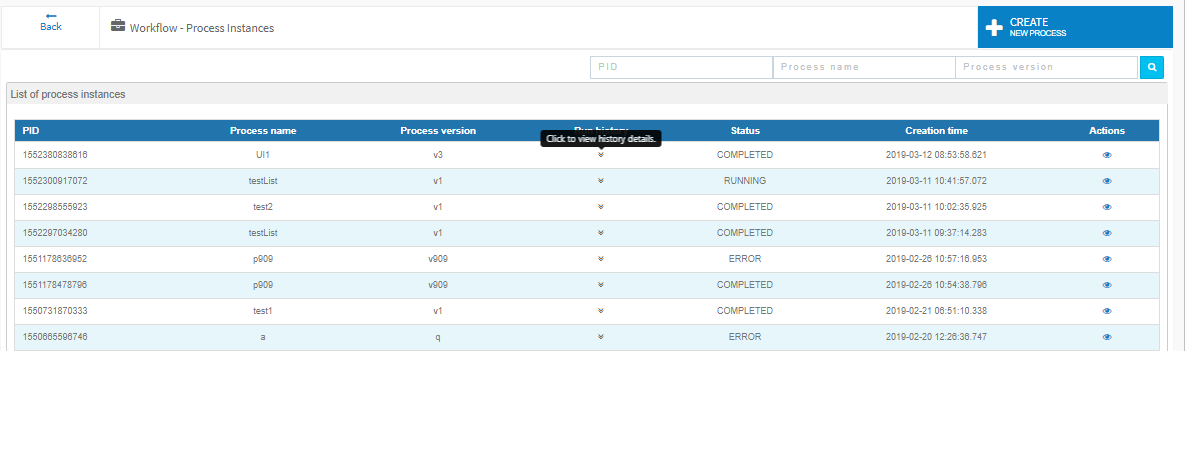
Clicking on the “Run History” symbol for that process instance shows the process history

Workflow Service Using Swagger
Create Schedule and Process Definition
Before creating a schedule and process definition, the corresponding tasks should be created. Two tasks (say T1 and T2) are created and deployed in a project. T2 has a file dependency on T1 . Please refer to the Task Service user’s guide, in particular Add external linking of File for creating the linked tasks.
Once tasks are created, create a workflow using Create Schedule and Process Definition API from swagger and then convert it to business process with the process name and version.
Sample JSON for creating process definition.
{
      "workflow": {
              "nodes": [{
                      "projectId": "P33",
                      "taskId": "T231"
              }, {
                      "projectId": "P33",
                      "taskId": "T232"
              }],
              "edges": [{
                      "from": "T231",
                      "to": "T232"
              }]
      }
}
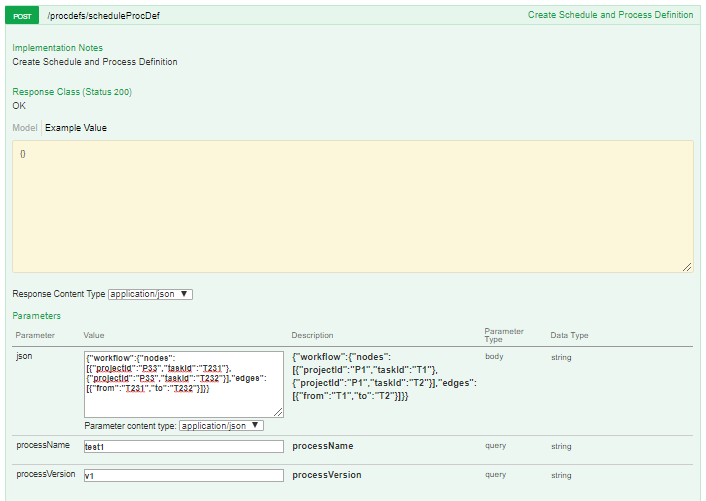
Enter the JSON in the body, give a process name and a process version then submit.

Response: Success if the workflow is created or error message in case of any error.
Create Permission
Create or update permission for the process name, process version and role combination with the action list (abort, details,history, init, list, mapping, preinit, recover, recoverymode, run, status) using Create Permission API from swagger as shown below.
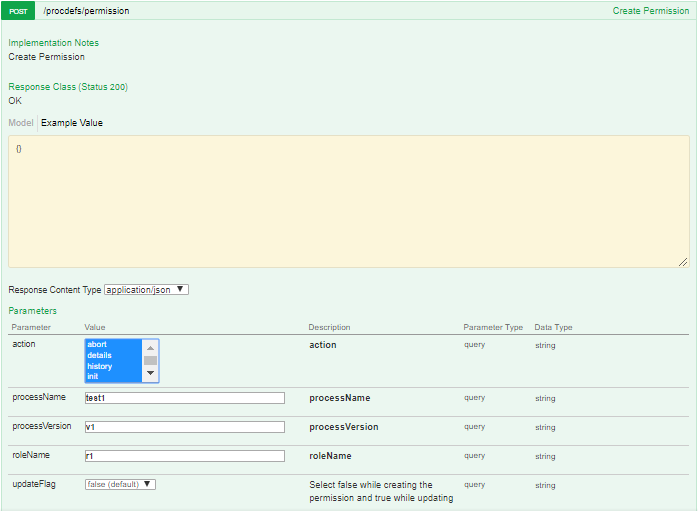
Enter the existing process name and process version, the role for which permission should be given. Select all the required actions for the permission and update the flag to submit.

Response: Success if the permission is created/updated or error message in case of any error.
Search Process Definition
Search all Process Definitions using Fetch all Process Definitions API from swagger as shown below.
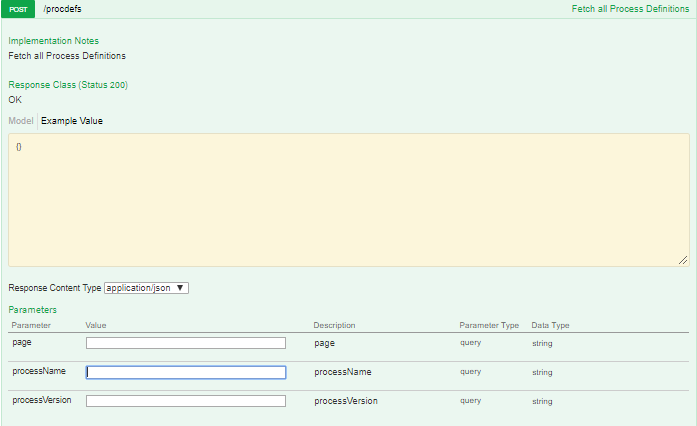
The fields have to be kept blank to search all the process definitions or enter the required value in corresponding fields to fetch the particular result
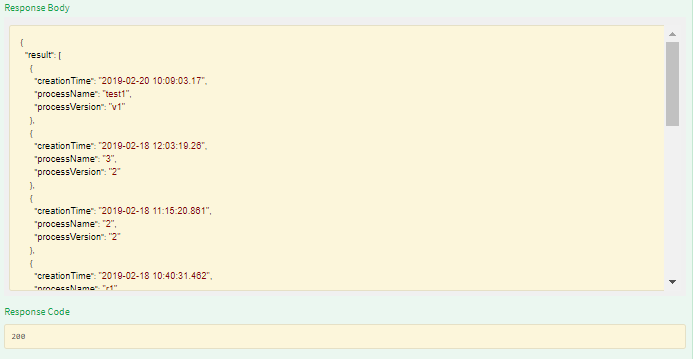
Response: Search result or Error message
Details for Process Definition
Fetch details for Process Definition using Details of Process Definition API from swagger.
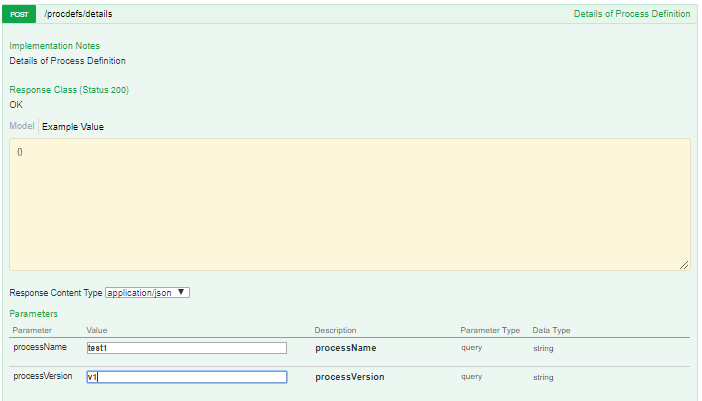
Enter the existing process name and process version to get the details
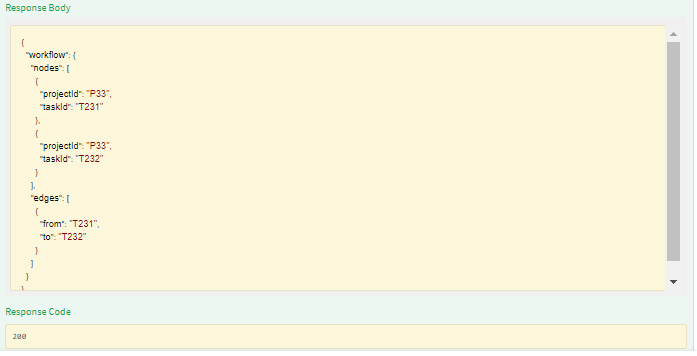
Response: Process Definition details or Error message
Run
Run a workflow for the provided process name and version using Initialte Process API from swagger. Additional information for the workflow can be optionally passed as a JSON.
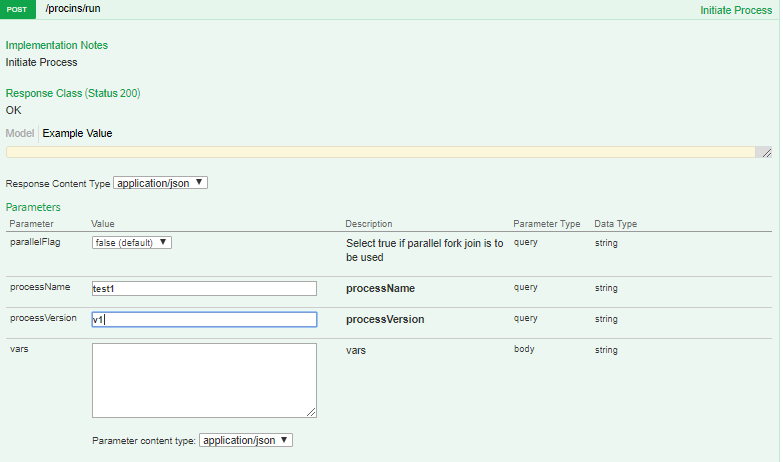
Enter the existing process name and process version, JSON in the body (optional) and select parallel flag to submit.

Response: Process Instance ID for the Workflow or Error message
Get Status
Show current status of the process instance for the provided process ID using Show current status of process instance API from swagger.
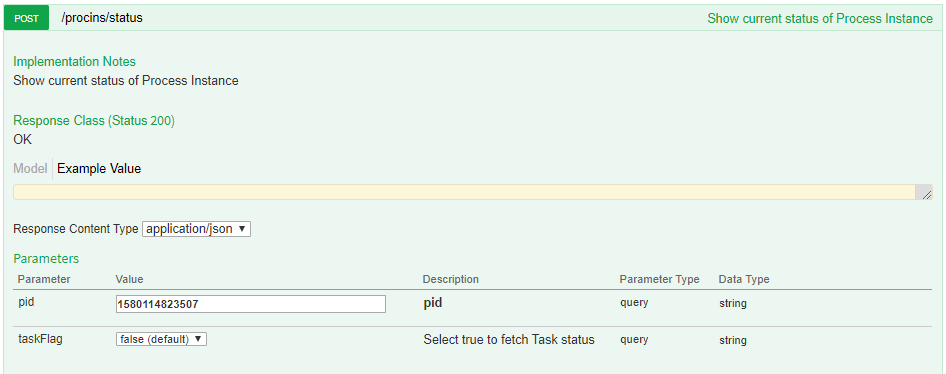
Enter the PID and select taskFlag (to fetch status of related Tasks) to submit the action.

Response: Current status of the PID (as a JSON) if available or Error message
Note: If this API call fails with the message “Unauthorized Access”, then it could either be because the user does not have the required permission or because the process has been deleted.
History
Show Process Instance History for the provided Process ID using API from swagger as shown below..
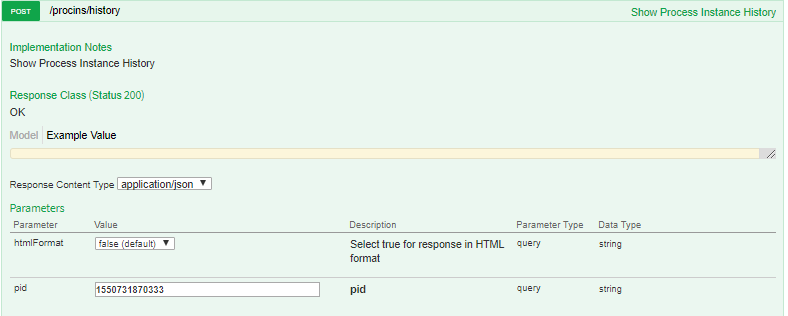
Enter the PID and select html format to submit the action.
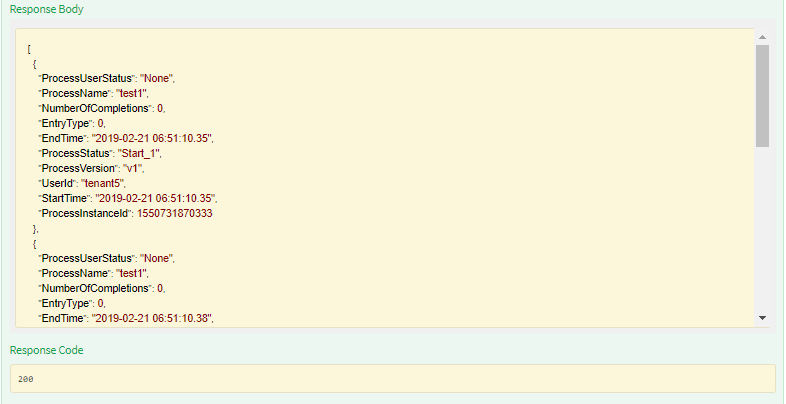
Response: History of the PID if available or Error message.
Note: If this API call fails with the message “Unauthorized Access”, then it could either be because the user does not have the required permission or because the process has been deleted.
List
List Active Instances API shows the details of the active Process Instances. Comma separated instance ID list (maximum of 10) can be entered as input. If the input is empty then all the active instances will be fetched.
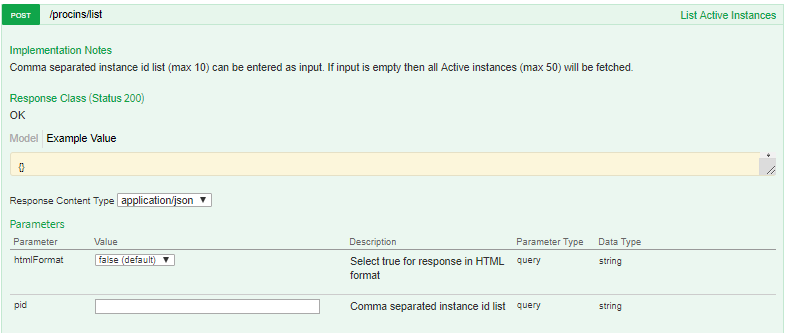
Enter the PID and select html format to submit the action.
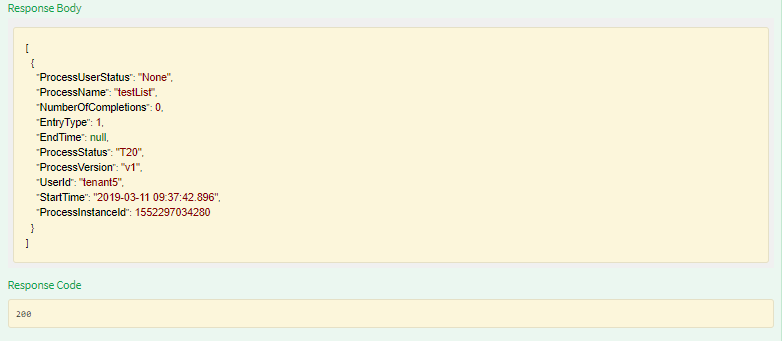
Response: Details of the PID if available or Error message.
Note: If this API call fails with the message “Unauthorized Access”, then it could either be because the user does not have required permission or because the process has been deleted.
Pause
Pause the provided business process instance identified by Process ID using the API from swagger as shown below.
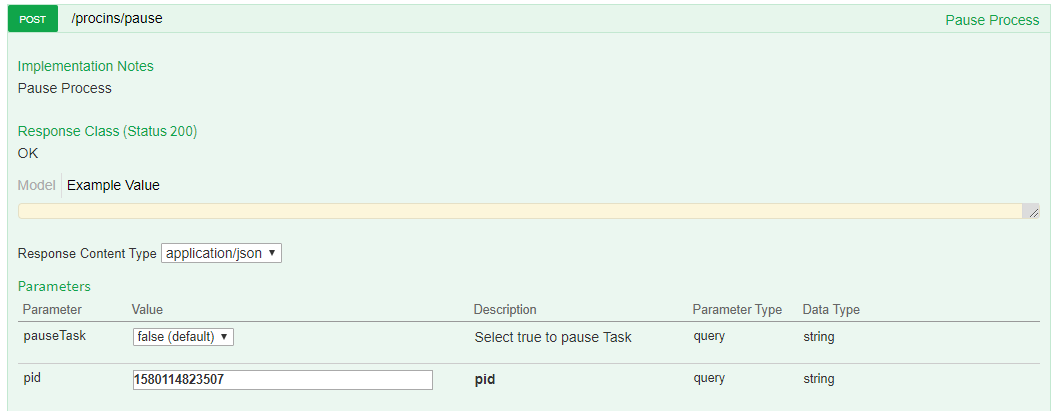
Enter the PID to submit the action.

Response: Success if the process is paused or Error message
Note: If this API call fails with the message “Unauthorized Access”, then it could either be because the user does not have required permission or because the process has been deleted.
Resume
Resume the provided business process instance identified by Process ID using the API from swagger as shown below.
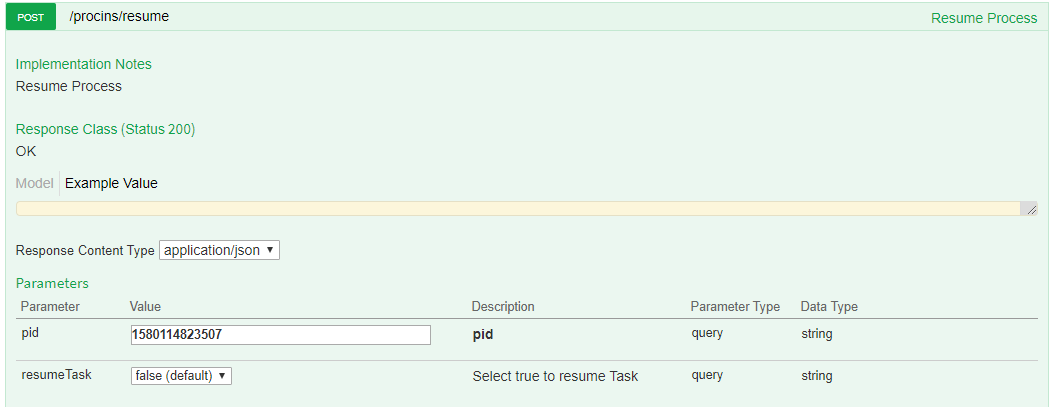
Enter the PID to submit the action.

Response: Success if the process is resumeed or Error message
Note: If this API call fails with the message “Unauthorized Access”, then it could either be because the user does not have required permission or because the process has been deleted.
Abort
Abort the provided business process instance identified by Process ID using the API from swagger as shown below.
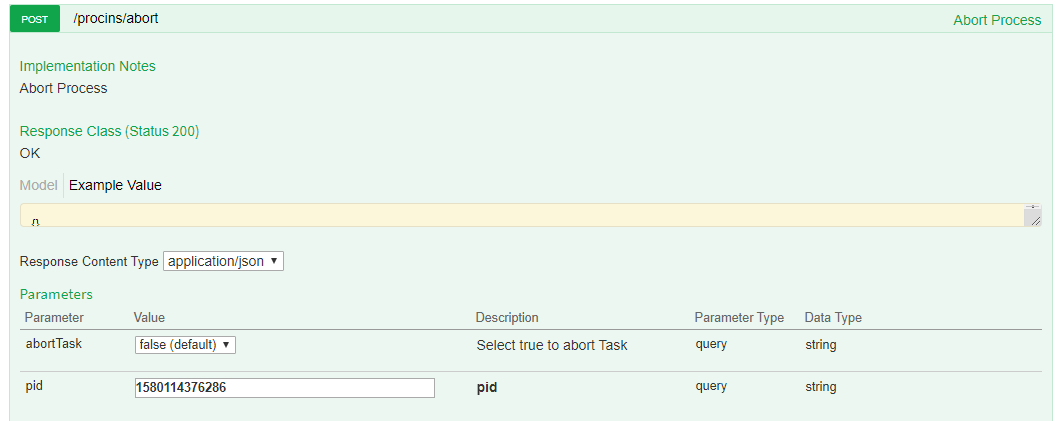
Enter the PID and select abortTask flag (to abort related Tasks) to submit the action.

Response: Success if the process is aborted or Error message
Note: If this API call fails with the message “Unauthorized Access”, then it could either be because the user does not have required permission or because the process has been deleted.
Pre-Init
Pre-Initiate a workflow for the provided process name and version using the API from swagger as shown below.
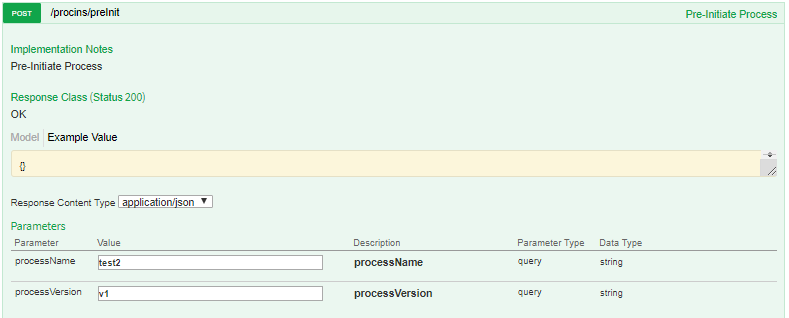
Enter the existing process name and process version

Response: Process Instance ID for the workflow or error message.
Get Mapping
Show mapping of baseTaskId and copiedTaskId of Process Instance for the provided Process ID
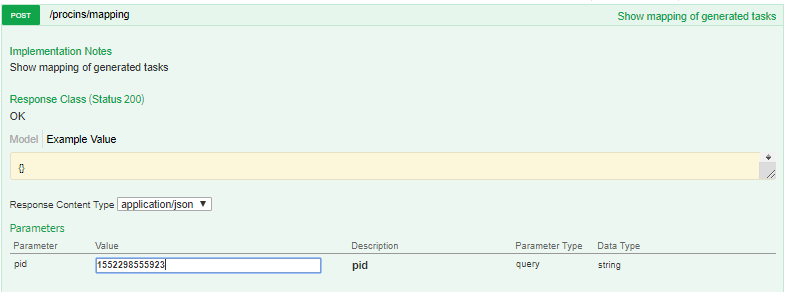
Enter the PID and submit the action
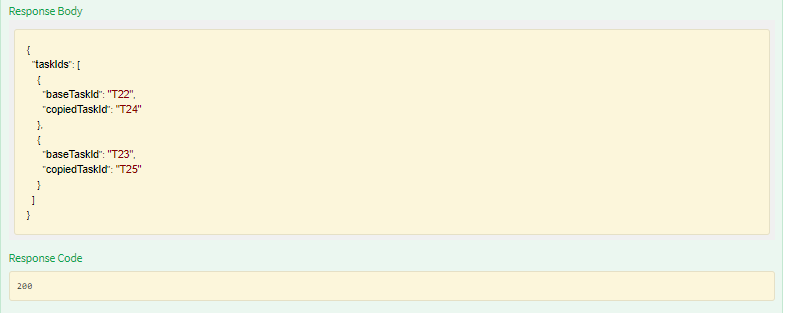
Response: Mapping of the Tasks (as a JSON) if available or Error message
Note: If this API call fails with the message “Unauthorized Access”, then it could either be because the user does not have required permission or because the process has been deleted.
Init
Initiate a workflow after Pre-Init for the provided PID. Additional information for the workflow can be passed as a JSON with the input.
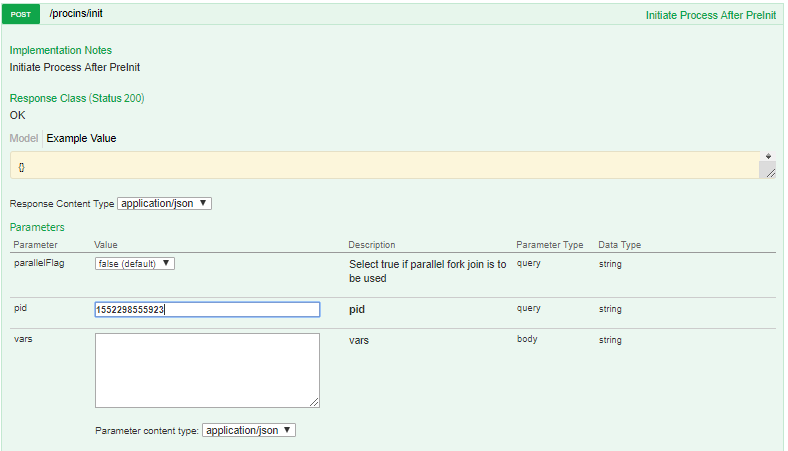
Enter the generated PID from Pre-Init, JSON in the body (optional) and select the parallel flag to submit.

Response: Success if the workflow is initiated or Error message
Note: If this API call fails with the message “Unauthorized Access”, then it could either be because the user does not have the required permission or because the process has been deleted.
Search Process Instance
Search all process instances using Fetch all Process Instances API as shown below:
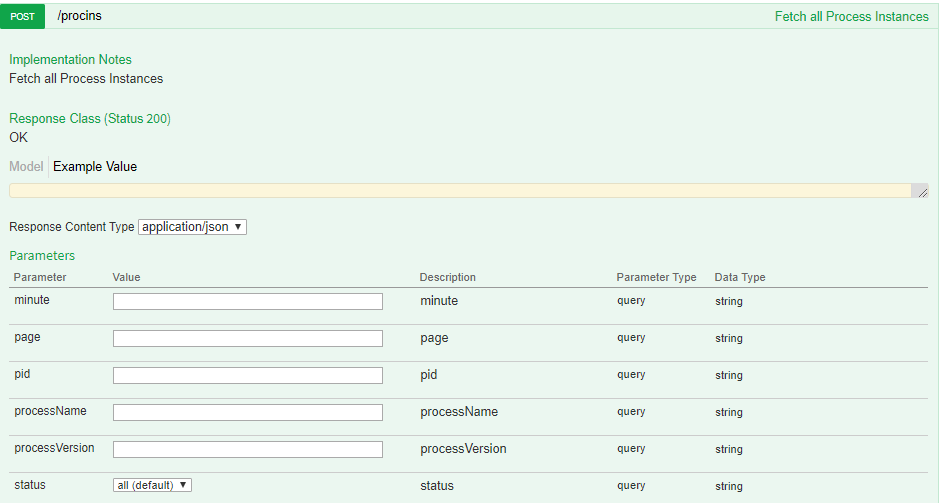
Keep the fields blank to search all process instances or enter the required value in the corresponding field to fetch the particular result. Also the result can be further filtered by selecting proper status flag.
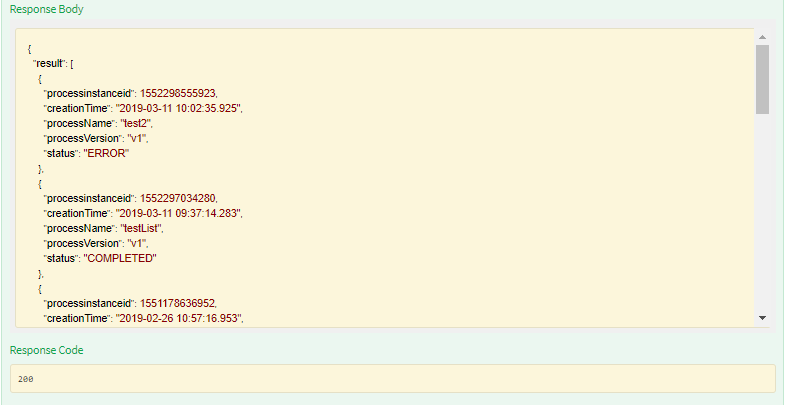
Response: Search result or error message
Recovery Mode
Set recovery mode for the process name and process version.
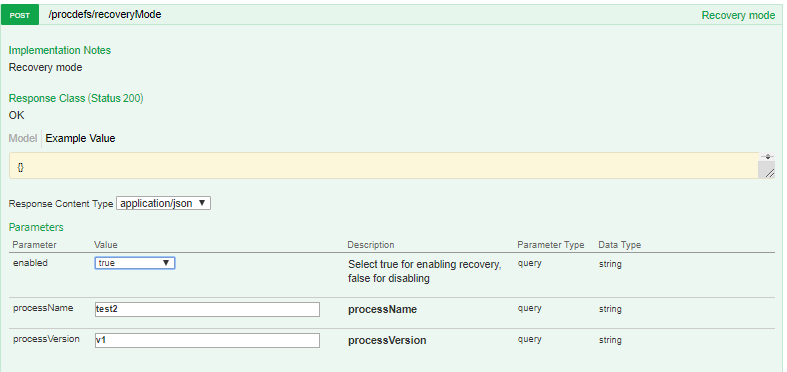
Enter the existing process name and process version, select the enabled flag to set the recovery mode.

Response: Success if the recovery mode is set or Error message
Recover Process
Recover the provided business process instance identified by Process ID.
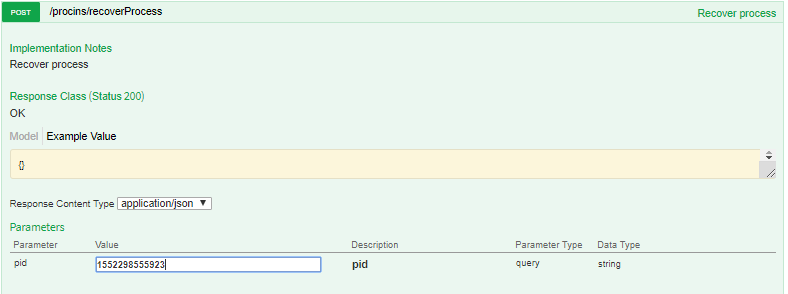
Enter the PID and submit the action.

Response: Success if process is started for recovery or Error message
Note: If this API call fails with the message “Unauthorized Access”, then it could either be because the user does not have required permission or because the process has been deleted.